Posts

Associate current portal user on insert in Dynamics 365 Portal.

Image
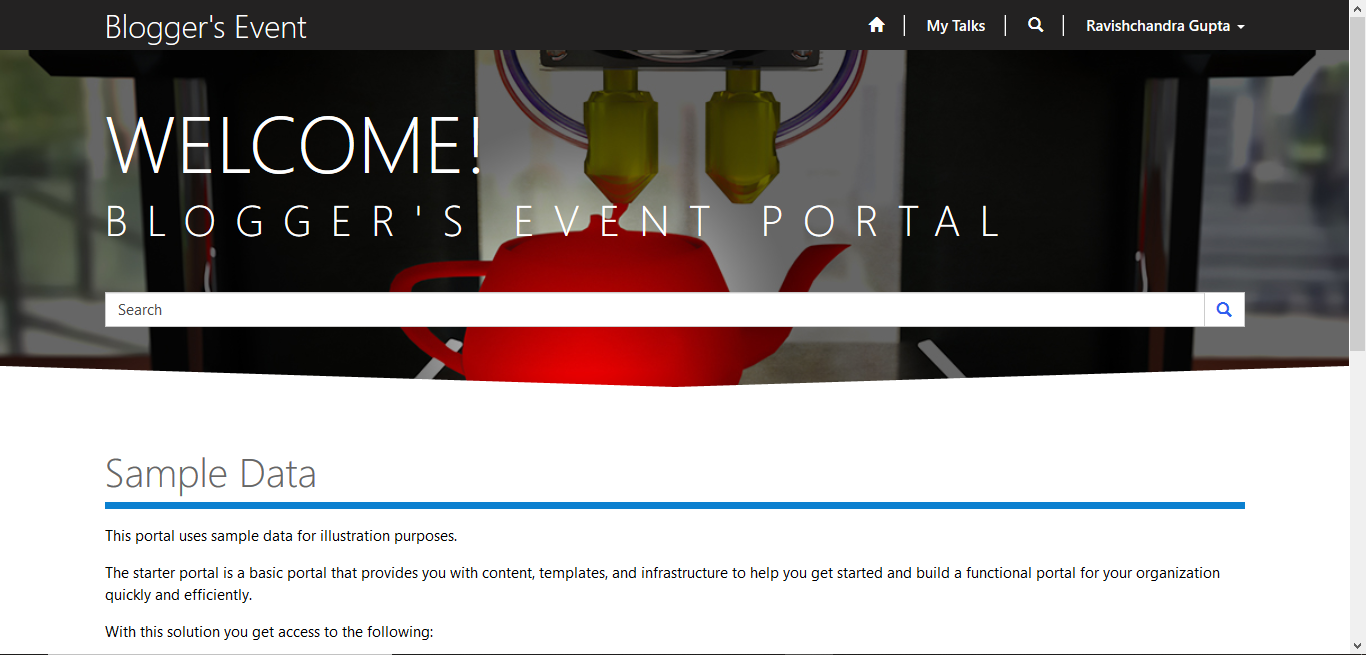
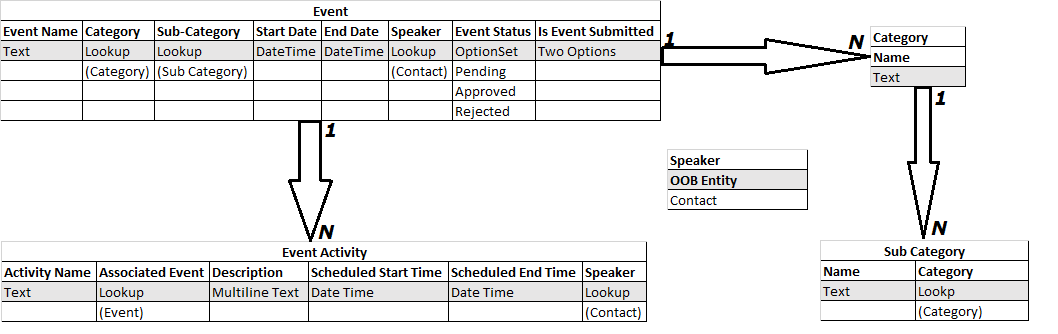
Hello Guys, In my previous blog we have seen how to filter Entity List based on current user. Today we will see how you can associate current user while creating record.  But before if you are new to our blog then do follow us to know more about Dynamics and Power Platform. Also if you like our blog then please comment and share this blog with your friends.  we have created Entity Form in one of our blog where we are trying to create a new event using Entity Form. If you have not read that blog, i will recommend that first read that blog. You can read it from  here.   As we know while creating a new event from the portal we have to select the Speaker from the list of speakers. Now we want whenever a new records is getting created, current user's value should be associated with Speaker Text box. To achieve this open Entity Form. Now select Entity Form Metadata Tab and click on New Entity Form Metadata. This will open a new window. Configure it as below. Scroll down on same window an

Filtering your Entity list based on logged in user in Dynamics 365 Portal.

Image
Hello Guys, In my previous blog we have seen how to create Entity Form and we have created an Entity Form which will be used for creating Events by end users. Today we will how to filter Entity List based on current user.  But before if you are new to our blog then do follow us to know more about Dynamics and Power Platform. Also if you like our blog then please comment and share this blog with your friends.  Consider a scenario where we have multiple End User who are submitting events on Event Portal. We want whenever user is logging in, only those events should be visible which is created by current logged in user. As you can see in above image we have logged in with Ravishchandra but we are able to other's event too. We want to filter this records based on logged in user. Open Entity List and scroll down. You will see Filter Conditions tab. Configure it as below. Now refresh the My Talks page on portal and you will see the result as expected. Hope it helps...

Creating your Event's First Entity Form in Dynamics 365 Portal.

Image
  Hello Guys, In my previous blog we have seen how you can provide multiple views option for user to change the view in Entity List. Today we will be creating an Entity Form which will be used for creating Events by end users.  But before if you are new to our blog then do follow us to know more about Dynamics and Power Platform. Also if you like our blog then please comment and share this blog with your friends.  Till the time we have created Event's Entity List and one Web Link in the menu to access this list. Now we will create one Entity Form. First of we need to create one Form in Dynamics CRM itself. This Form will be used as Entity Form in Dynamics Portal. For time being i have created this form which is designed as below. Now Open Portal Management Application and Select Entity Forms. Click on New. It will open a new window in same window. Configure it as below. Select Additional Settings Tab and configure it as below.(You need to click on Submit). Scroll down on same Addit

Displaying List of of views while using Entity List in Dynamics 365 Portal.

Image
Hello Guys, In my previous blog we have seen how to create entity list in dynamics portal and we have displayed Event List. Today we will see how you can provide multiple views option for user to change the view in Entity List.  But before if you are new to our blog then do follow us to know more about Dynamics and Power Platform. Also if you like our blog then please comment and share this blog with your friends.  We will be working with same Entity List which we have created in our previous blog. If you have not read that blog, i will recommend that read it first by clicking  here. First of all we will create 4 views into the CRM which are All Events, Completed Events, Pending Events and Rejected Events. Navigate to  https://make.powerapps.com . Click on Data -> Entities -> Event -> Views.  Create four view as per your filtration requirements. For time being we have created these four views as below. Now open Portal Management Application and open My Talk Entity List which w

Displaying your first Event's Entity List in Portal.

Image
Hello Guys, In my previous blog we have seen how you can create Custom Power App Portal Also we have created our first custom portal. Today we are going to learn how to create entity list in dynamics portal  But before if you are new to our blog then do follow us to know more about Dynamics and Power Platform. Also if you like our blog then please comment and share this blog with your friends.  We have created below entities into the CRM for our Event Portal. Now navigate to  https://make.powerapps.com . Click on Portal Management. This will open a new tab. Scroll Down the left pane and click on Entity List. Click on New and configure it as below. Also click on view select Active Events. Now we will be creating a web page where this entity list will be displayed on the portal. From the left pane select Web Pages and click on New. Configure it as below: Save the changes. Now we will creating a web-link for this page so that it can be visible in the menu and user can navigate this web pa

Creating Custom Power app portal in Dynamics 365.

Image
  Hello Guys, In my previous blog we have seen one of the most useful feature of Power Platform i.e. Portals also we created one Customer Self Service portal. Today we are going to see how you can create Custom Power App Portal.  But before if you are new to our blog then do follow us to know more about Dynamics and Power Platform. Also if you like our blog then please comment and share this blog with your friends.  Here we will create one Event Management Portal where end user can create Training Event. User will submit this event which will be sent for approval to the admin. Kindly follow below steps: Step 1:- Navigate to  https://make.powerapps.com  and select your environment. Step 2:- Click on Portal from blank. This will open a new window. Specify details and click on create. It will take some time to provision your portal. Once it will be provisioned, you will be notified and you can navigate through URL. In this way you can create Custom Portal. Hope it helps...

Portals in Microsoft Dynamics 365.

Image
Hello Guys, In my previous blog we have seen how to set icons for your entity in UCI App. Today we are going to learn one of the most useful feature of Power Platform i.e. Portals.  But before if you are new to our blog then do follow us to know more about Dynamics and Power Platform. Also if you like our blog then please comment and share this blog with your friends. A portal is a web application which runs independently and can be enhanced as per user's requirements. These users can be internal employees as well as your customers. Portals are useful in extending the functionalities of the CRM and for sharing minimal data with non-CRM users. It also helps organization to interact with employees with additional features. Here are some examples when to use Portals.  You can create Portals for handling customer's complaint using Case. You can create Portals for creating a forum where your customer can provide you feedback. You can create Portals for your employees to fill their