Using changesets in Power Automate Flows for atomic transactions
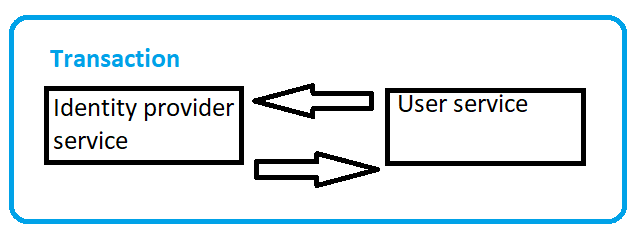
Hello Guys, In our previous blog we have seen how to create and use custom dialog boxes using HTML web resource. Today we will see how to use changesets in PA flow for atomic transactions. Do follow us to know more about Dynamics and Power Platform. Also if you like our blog then please comment and share this blog with your friends. First of all we will understand what is atomic transactions. Basically Atomic transactions are the transaction where each transaction depends on each other. It means if we have two transactions and if one of them gets failed, then other also gets failed. As we do Create, Update and Delete in D365 CRM, we need to ensure these transactions are atomic. If we talk about synchronous workflows then, if it gets failed then all transactions are rollbacked. In the same way we want some mechanism in MS Flow where we can achieve the similar feature. We can use changesets in MS Flow to make transactions atomic. Let's see how to ...