How to create your own confirm dialog box in Canvas App.
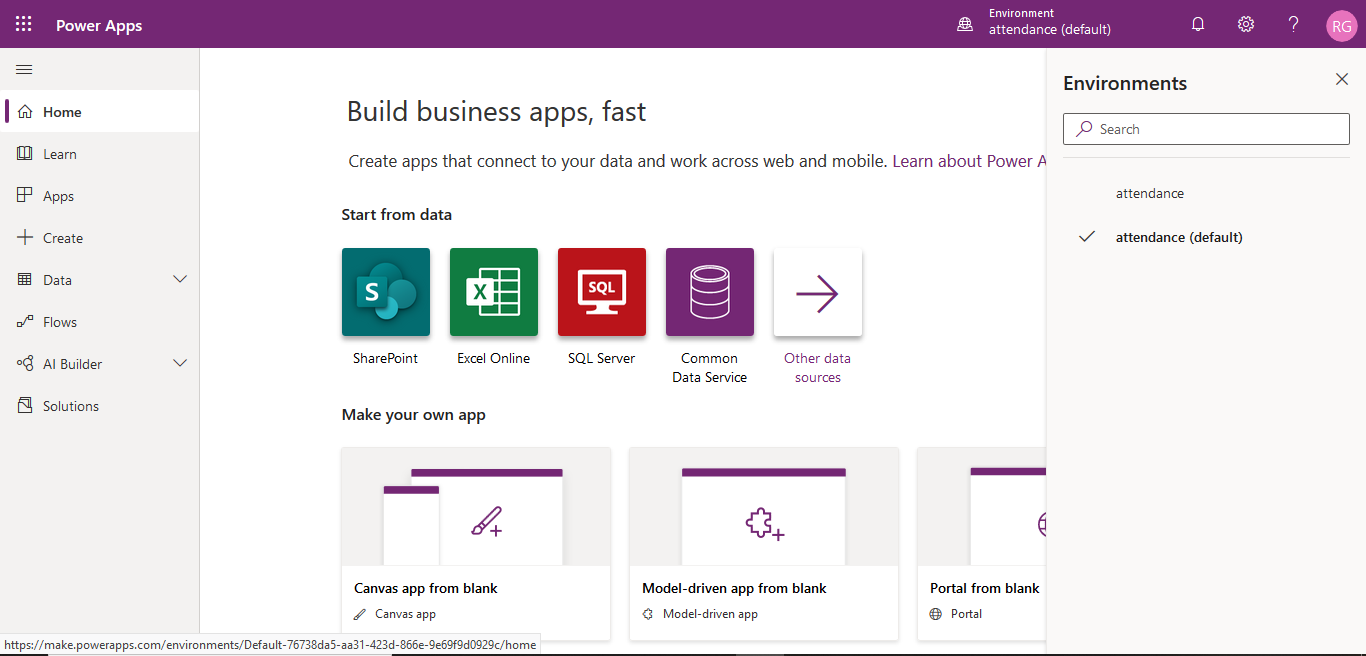
Hello Guys, This blog will explain how we can create custom confirm dialog box in Microsoft Power Apps. Step 1: Navigate to https://make.powerapps.com . It will open a new window like below screen. Step 2: Select your environment by clicking on environment. Step 3: Click on Apps. From the command option click on New and select Canvas. It will open a new tab in same window. Step 4: Select Blank App (Phone layout). It will open below window. Step 5: Rename Screen1 to ScrHome. And fill the screen with any color you want. You can implement basic implementation like heading designing. Step 6: In this step we will first set a global variable (type of boolean) which will be used for displaying our confirm dialog. Initially it it set to false. Select ScrHome and select its Visible event and type in the formula box. Set value to false. Step 7: For creating a confirm dialog box we need one rectangle control,one label control and two buttons. Design the Dialog box as show in the below screen. Al