Using Liquid Script to display entity form.
Hello Guys,
In my previous blog we have seen how you can associate current user while creating record. Today we will learn Liquid script and how you can use liquid to display entity form. But before if you are new to our blog then do follow us to know more about Dynamics and Power Platform. Also if you like our blog then please comment and share this blog with your friends.

Till the time we have created one entity form which is used for creating a new event. Now we will be creating two more Entity Form which will be used for Editing existing event and second one will be used for displaying event in read only mode. As we have one attribute in Event entity named "Is Event Submitted", we will use this attribute to display the Entity Form. It it is True the End user can not modify the Event and if it is false then end user can modify the event.
So first of all we will be creating these two entity Form. Open Portal Management App. Click on Entity forms in the left pane and click on New. Configure it as below.
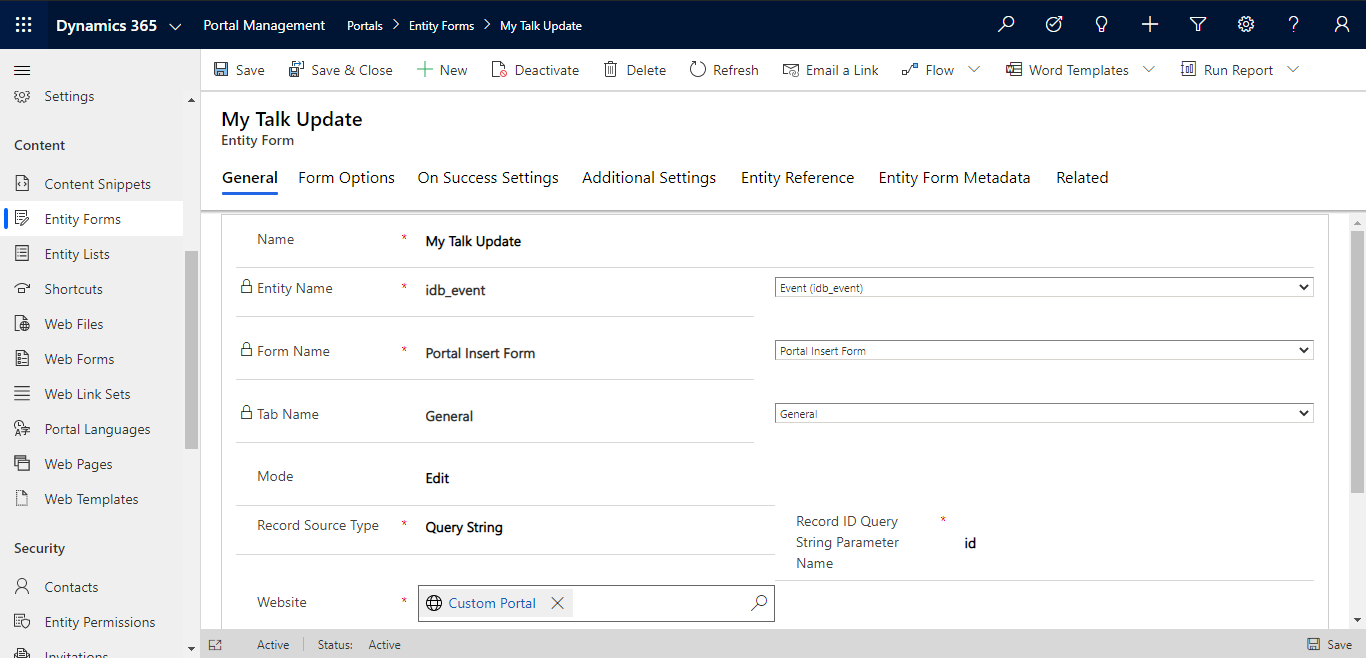
In Additional Settings click on submit and configure it as below.

Now click on New Entity Form and configure it as below.

Now we will be creating one Web Template where we write Liquid script. In the Left Pane select Web Templates and click on New.

Copy below Liquid and paste it into source.


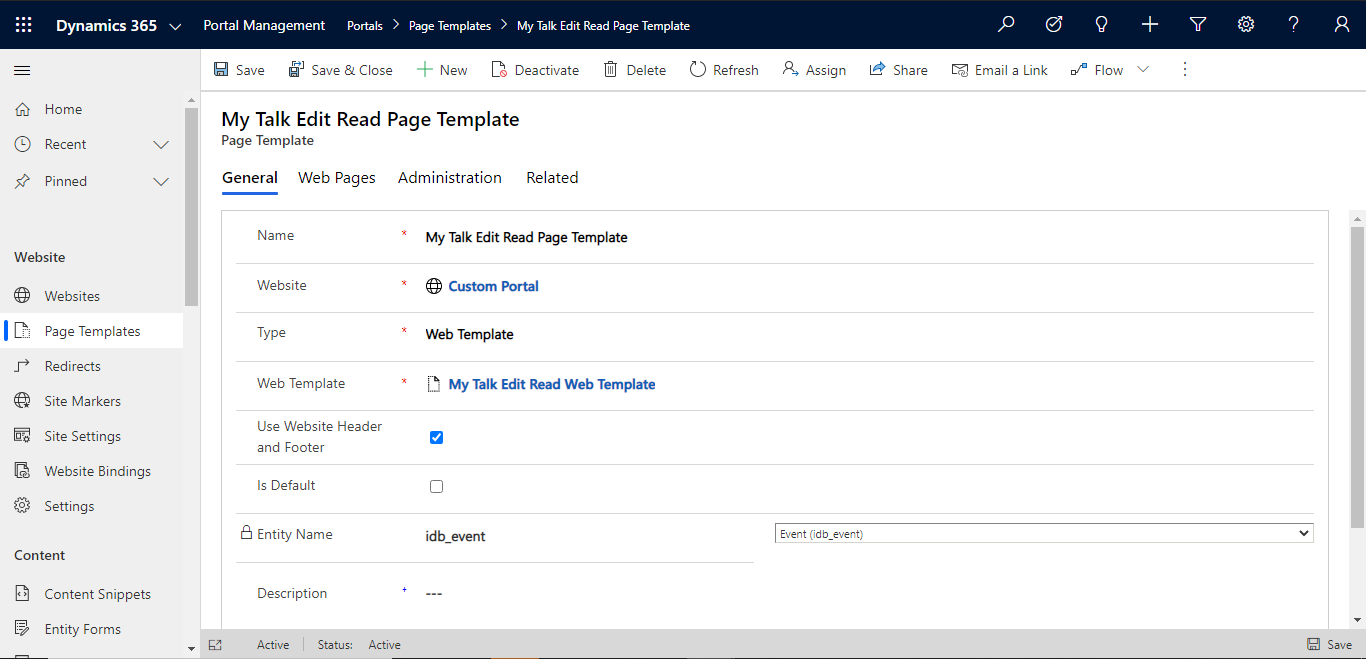
Now we will be creating one Page template which will be calling this web template. In the left pane select Page Template and click on New. configure it as below.
As we have created Two Entity Form , we need to create two Web Page for displaying them. In the Left Pane select Web Pages and click on New. Configure it as below.


Save the changes and navigate to portal to see the changes.


Hope it helps...


Useful blog 👍
ReplyDeleteThanks.
Delete