Using Microsoft Flow in Dynamics 365
Hello Guys,
In my previous blogs we have seen how you can scan Business card and convert it into lead using canvas application. Today we are going to explore Microsoft Flow.But before if you are new to our blog then do follow us to know more about Dynamics and Power Platform. Also if you like our blog then please comment and share this blog with your friends.
Microsoft flow which is now known as Power Automate is a cloud based software which is used to automate workflows and activity in various applications. You can perform many parallel and background action using flow. This flows are triggered on various events like creation of record, edition of record, deletion of record, while sending mail or push notification etc. You can trigger notification while record is created, send email or text message.
You can work with various connectors available while working with flow. It include Salesforce, SQL Server, Twitter, Box, DocuSign, Slack, Skype and Google Drive. A connector is an API that allows these services to connect to Microsoft Flow.
Microsoft provides a large set of templates for creating a flow.
- You can capture twits from many hashtag.
- You can capture blogs from Blogger.
- You can export share point data into csv.
- You can get push notification while receiving email.
Also if you do not get a template which fits to your requirement then you can create your own custom template.
So lets see how to create a flow. Here we will create a flow on Contact Entity. It will be triggered when a new contact is created. It will fetch data from the Account attached to this contact and will update in Contact record. This data include Account's Address,City and Country.
Step 1:- Navigate to https://flow.microsoft.com. Click on sign in. Use your Microsoft credentials.

Step 2:- Select your environment.

Step 3:- We will be creating one solution where we will keep our flows. Click on Solutions and create a new solution.

Step 4:- Open this solution. Now click on New -> Flow

Step 5:- Save Your Flow First.

Step 6:- Type "Record is created" in the search box and Select below action.
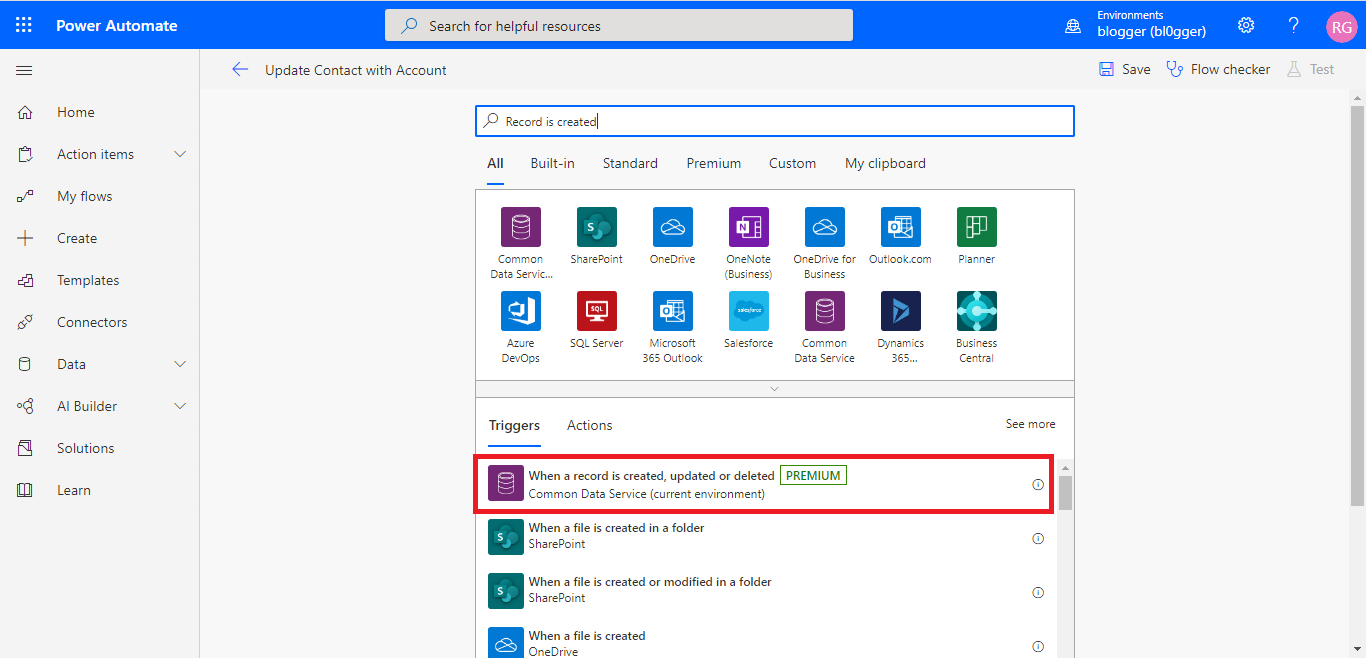
Step 7:- Configure This trigger as below and then click on New Step.

Step 8:- Type "Get Record" in search box and select below action.
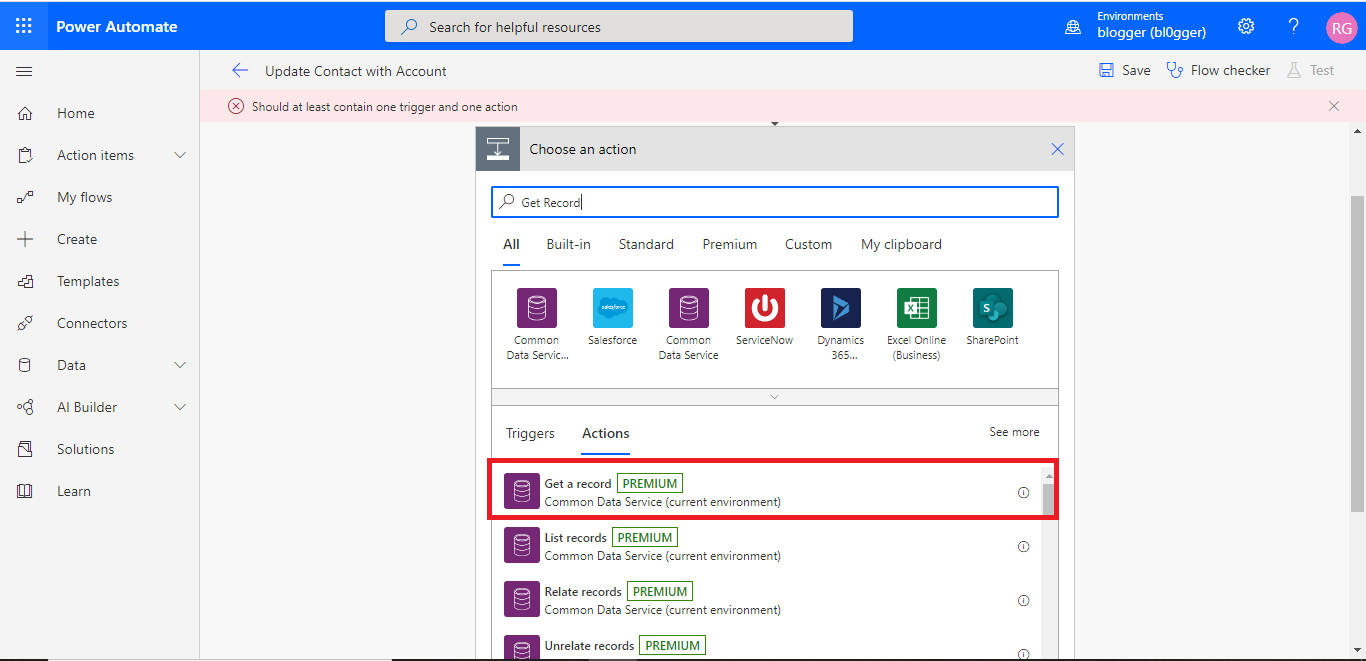
Step 9:- Configure this Action as below and click on New Step.

Step 10:-Select Condition.

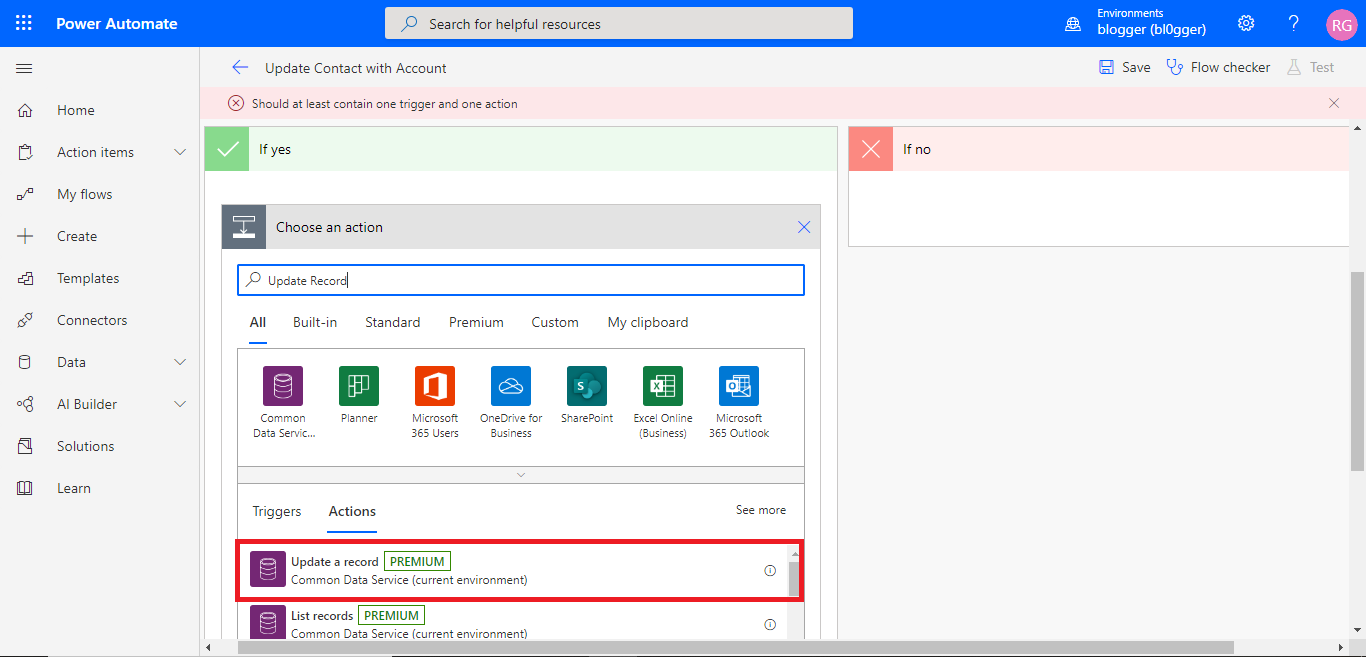
Step 11:- Configure this step as below and click on Add an Action in Yes section.

Step 12:- Type "Update Record" in search box and select below action.
Step 13:- Configure this step as per your requirement.

Step 14:- Save this flow and now we will create a new contact record. Open Contact entity and click on New. Fill First Name and Last Name and select Account only and click on Save.

You will see Address related data are updated to contact from Account. If you cant see the data then refresh the form.

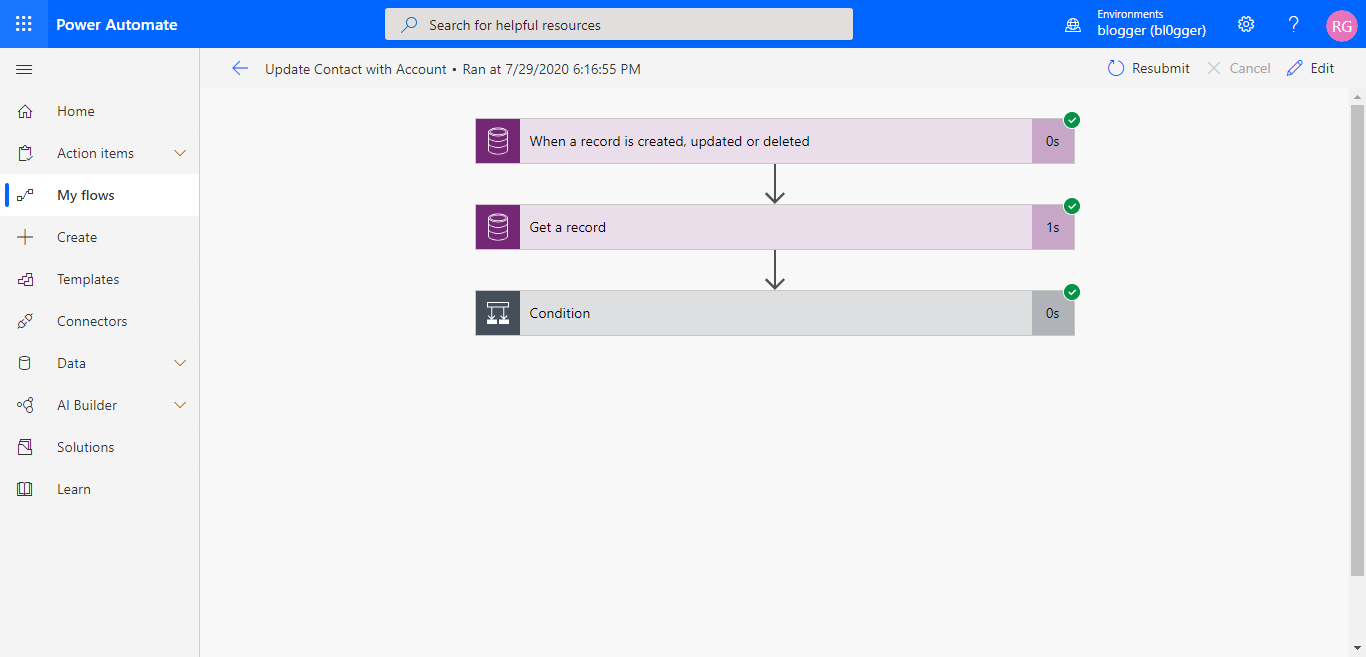
You can also see Flow history. Open the flow again. Also when you open it's action you will see data fetched by particular action.


Hope it helps...


Comments
Post a Comment