Association of Lookup field while creating a new record in Canvas Application.
Hello Guys,


Here we have created a variable which is "CollAccounts" and it is type of collection which will hold Accounts data.


In my previous blog i have shown you how you can display lookup field value while displaying records in canvas application.Today i'm going to show you how you can associate lookup field while creating a new record.
Consider a scenario where we are creating a new contacts and we want to specify its company name which is nothing but the Account Entity. If we are working with Model Driven Application then it is easy for us to associate lookup. But while using canvas app we are not able to select the lookup field like we do in Model Driven Application.
To achieve this we need to create a separate list of lookup and we can associate it with the record which we are going to create. So we will implement it step by step.
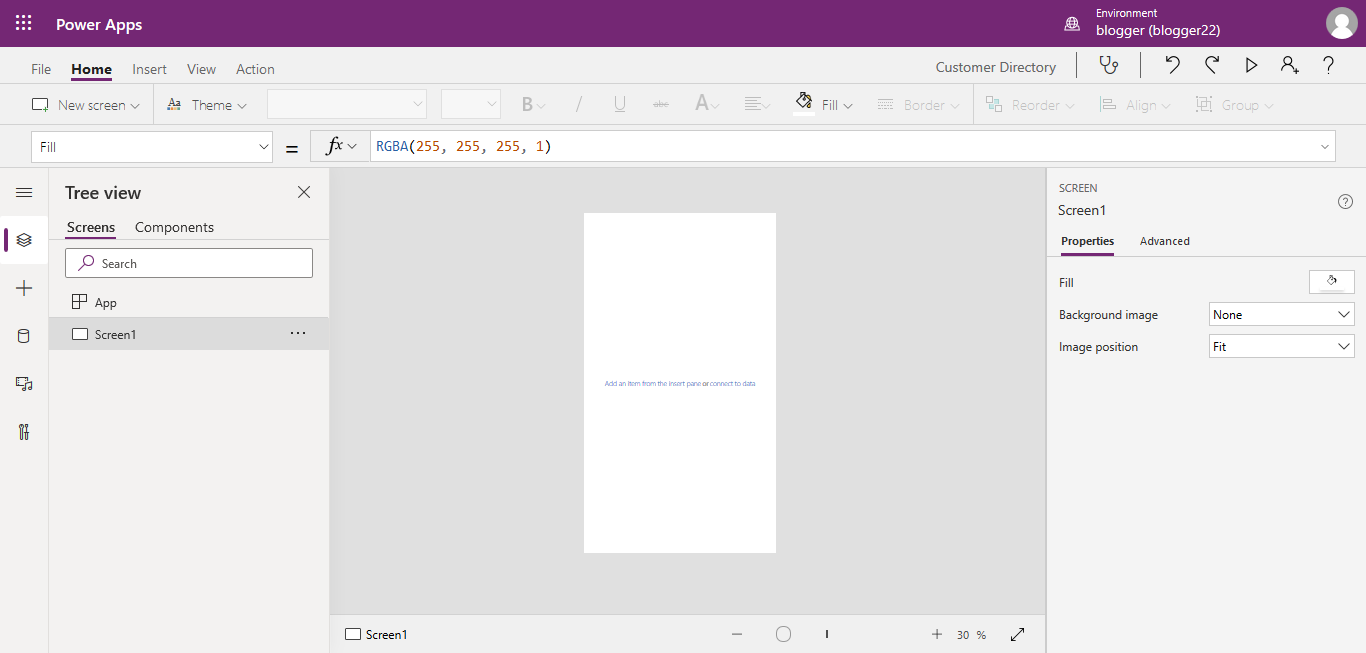
Step 1:- First we will create a new canvas application from the scratch. For time being i have created one canvas application i.e. Customer Directory as below.

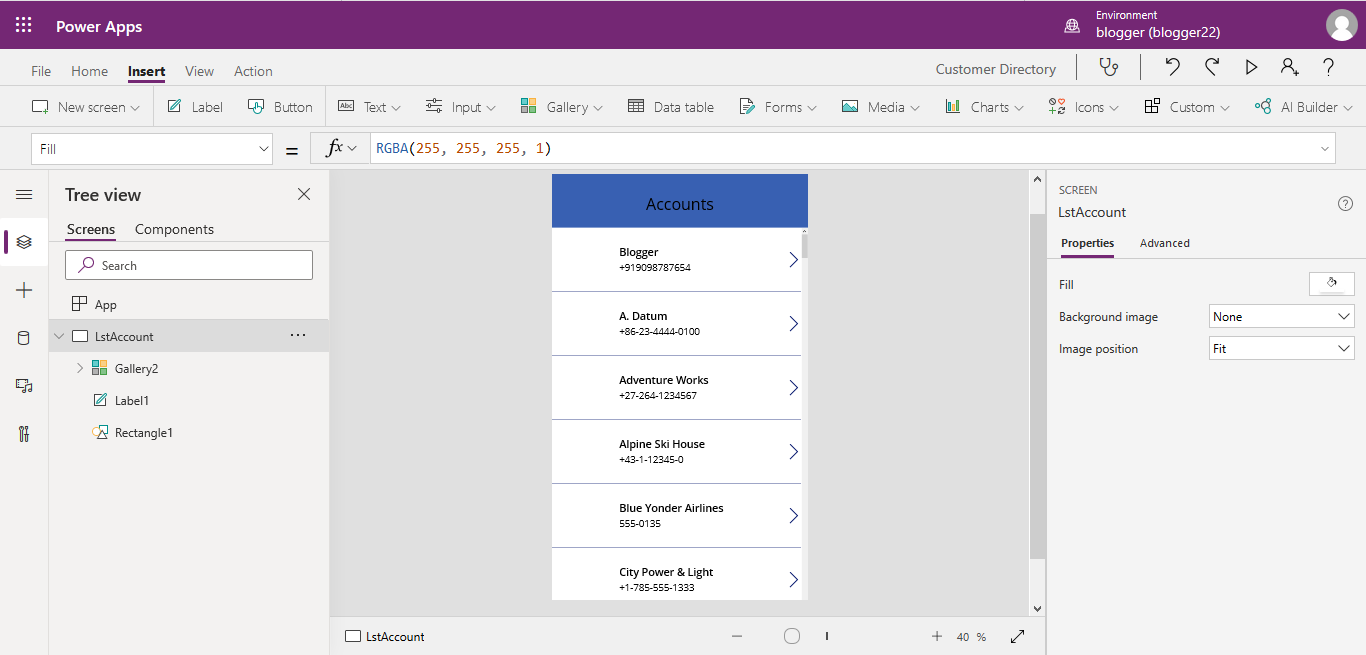
Step 2:- Rename the Screen1 as "LstAccount". From the menu click on Insert -> Gallery -> Vertical. Select Gallery1 and go to the properties and select data source. If you are connected with D365 then you can select the entity which you want to use or else first you have to make a connection between CDS and D365. I have already made a connection. So now we will select Account Entity.

Once you will select the entity it will bind records of that entity with gallery.

Step 3:- We will this list as lookup while creating a new contact. So we will create a collection to keep this data. Now select first item from the gallery and select OnSelect Event of the gallery and modify it as below:

Step 4:- Now from the menu select New Screen -> List.Rename the Screen Name, BrowserGallery1 and Associate Contact entity with the BrowserGallery1 as below:

Step 5:- Now we will add one more screen which will create a new contact. From the menu select New screen -> Form. Rename Screen3, EditForm1 and Title of the form as shown below. Also select EditForm1 -> Properties -> Data Source and select Contacts.
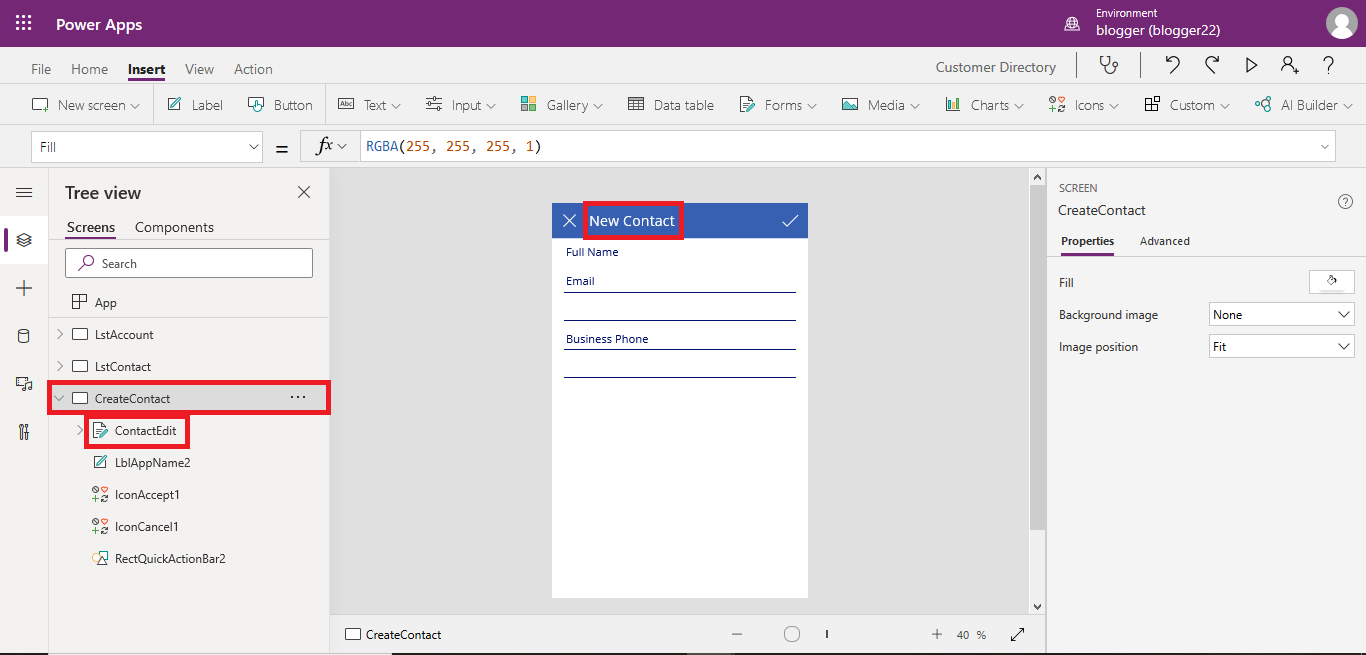
Step 6:- Now select ContactEdit and go to the properties and click on Edit Fields.
we will use First Name,Last Name, Email, Mobile Phone and Company field. You can add fields and remove fields.

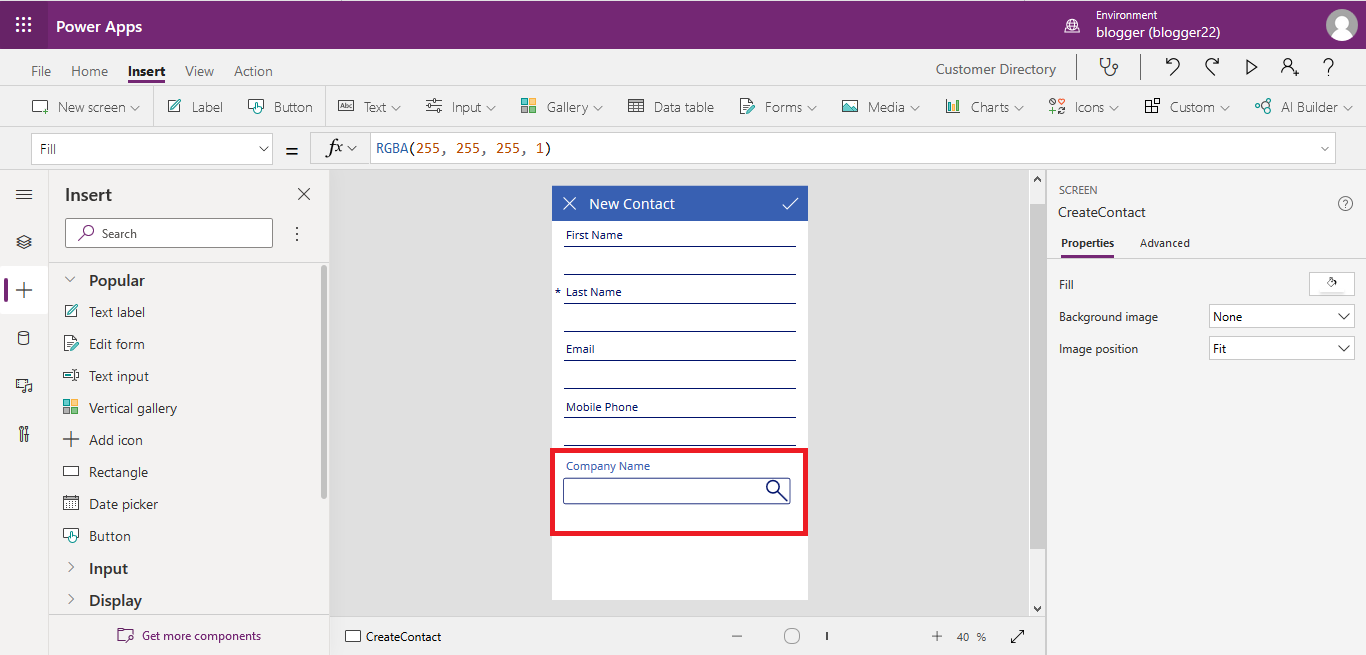
Once fields will be added, close edit field window and your form should look like this.

Now you can see "Company Name" Field is not having any label or text box as it is lookup field. So when we run this canvas application an try to create a new contact we are not able to select Lookup for Account which is "Company Name". So we need to add a label and text box also a search icon to this field. Select Company Card field and drag Text Label, Text Input and set its properties as below. Also from the menu click on icons and insert search icon.

Step 7:- Now select "LstContact" screen and select it's IconNewItem1 control and set formula on OnSelect event as shown below:

Once done run the canvas application and try to create a new record and your form will look like as shown below:

Step 8:- Now select "CreateContact" screen and select search icon and set its OnSelect event as shown below:

Step 9:- Now select TextInput1 and set it's Default event as shown below:

Step 10:- Now select Company Name_DataCard1 and set it's Update event as shown below:

Step 11:- Now select CreateContact screen and select IconAccept1 and set it's OnSelect property as shown below:

Step 12:- Select "LstContact" and Run the application.
Hope it helps...


👍👍
ReplyDeleteThanks Ruksar.
DeleteVery nicely explained
ReplyDeleteThanks Ravinder.
DeleteIt's really great to know this new stuff.
ReplyDeleteThanks
DeleteThanks for the great job. I have two questions:
ReplyDelete1. Is it possible to create new contact with power automate over account subgride?
2.how can I follow your blog?
thanks in advance
Hi Necsa. Thanks for your feedback. You can follow me by visiting my profile and clicking on follow button. Also currently i will try to provide you information regarding contact creation using power automate in account subgrid.
DeleteHi Immortal.Dynamics
DeleteThank you so much for the fast feedback.