Connecting Dynamics CRM using Web API and C#.
Hello Guys,
In our previous blog we have seen what are Workflows and how it works. Today we are going to connect Dynamics 365 using Web API and C#.

Do follow us to know more about Dynamics and Power Platform. Also if you like our blog then please comment and share this blog with your friends.
D365 Web API provides OData functionality for building and consuming REST API which can be used across in large variety of programming languages.
We have used Restful APIs to perform various operation on D365 like Querying Data, manipulating and storing data into D365 using C#. Today we will see how we can connect D365 using Web API and C# and in our upcoming blogs we will perform Insertion of data into the D365 CRM using Web API.
To connect D365 using web API we need to first register our dynamics 365 instance as an app in Azure Active Directory. This is mandatory as if you want to connect D365 using web API then first you need to authenticate logged in user.

We have Dynamics 365 instance as you can see in above image. Now we will be registering this instance in Azure Active Directory. Open a new tab and type https://portal.azure.com.

Now click on Search and type "Azure Active Directory" and click on it.

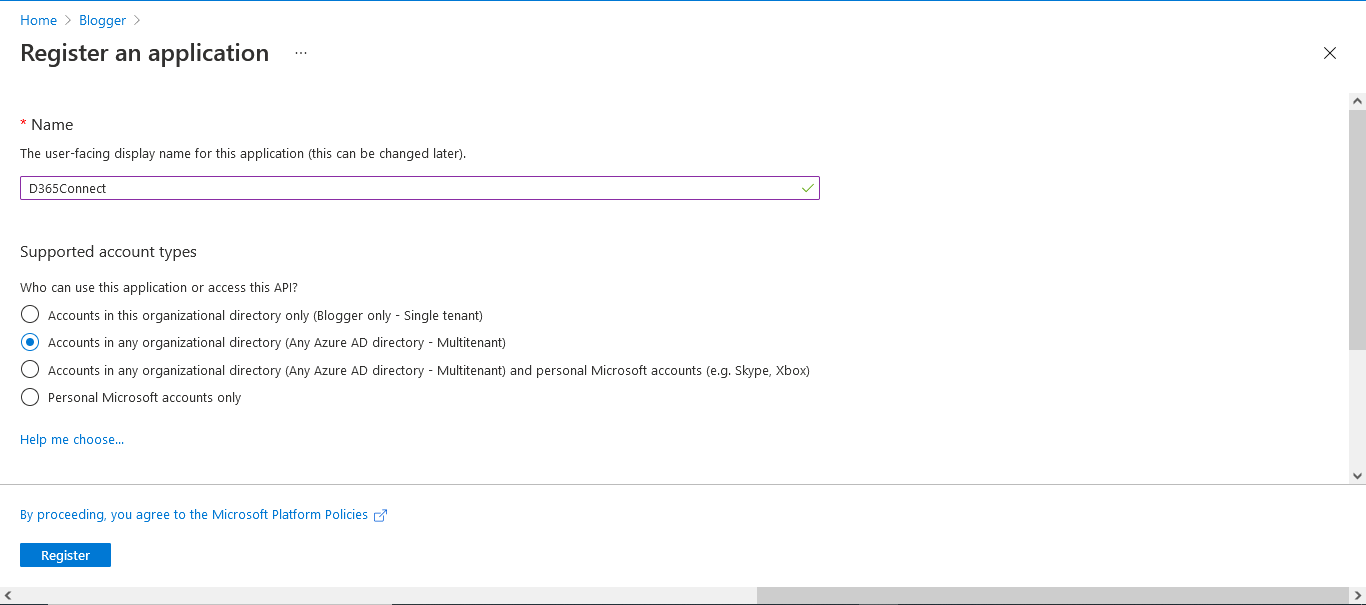
Now click on App Registrations and click on New Registration. Configure the page as shown below and click on Register.
Once your instance is registered you will be navigating to below page.

Copy Application and Tenant ID and keep it note down somewhere.

Now scroll down the right pane and click on Manifest. Change the "allowPublicClient" property to true and save the changes. Once done click on API Permission.

Click on Add Permission and select Dynamics CRM.

Now check the option "user_impersonation" and click on Add Permission.

Now click on Grant admin Consent and click on Yes.

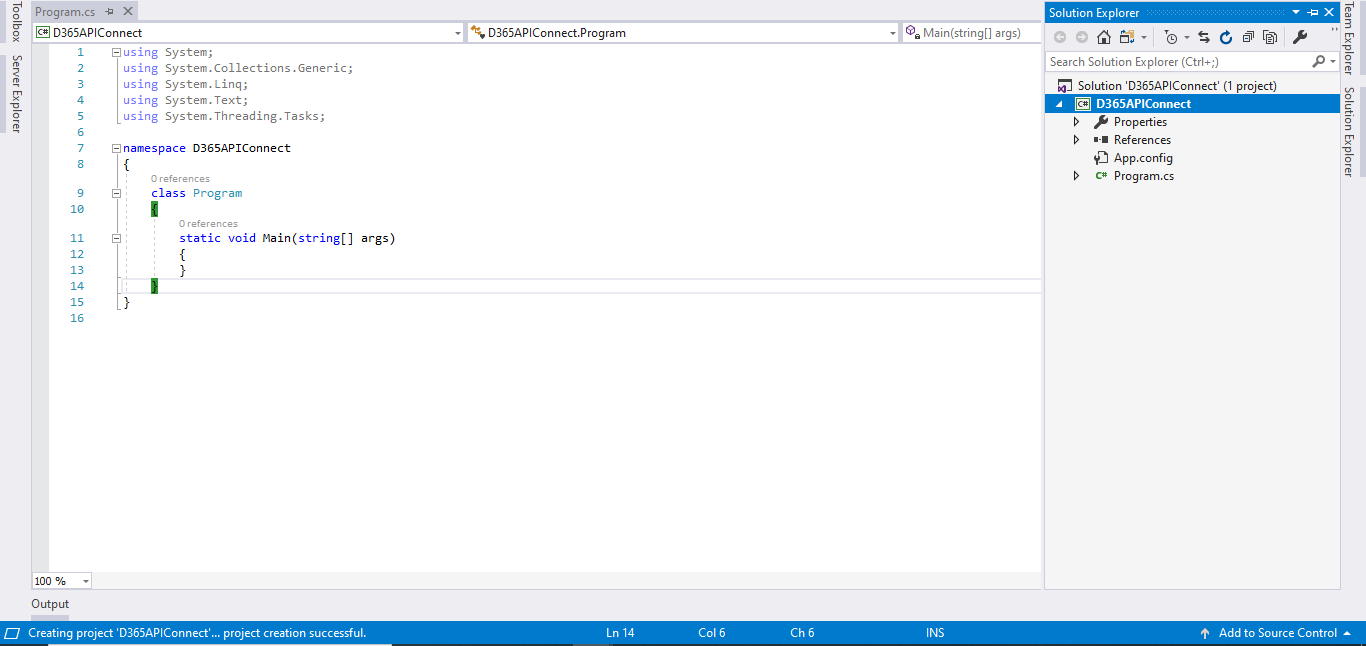
So now required setup and authentication is completed. So now we will be creating a C# application. Open visual studio and create a new console application.
Now right click on Project in Solution Explorer and click on Manage Nu-get package and search Azure Active Directory and click on Install.

Now search Newtonsoft.Json and install it. Once done, write below code in program.cs file.

Now run the application and check whether its working or not.

As you can see our organization is connected now. In our upcoming blog we will see how create record in D365 using Web API.
Note: To access CRM we need to create application user also which we can create by below steps:
- Login to : https://admin.powerplatform.microsoft.com
- Select Your environment.
- Select Settings and choose Application User under User + Permission section.
- Click on New
- Click on Add an app
- Select the app which we registered.
- Select BU
- Click on Create.
Hope it helps...


Life Saver!!
ReplyDelete